Monday, July 25, 2011

Consider Yourself Warned...

One thing we didn't realize when we went from renters to homeowners was the amount of people who would knock on our door and try to sell us things. Things we don't need. And the amount of junkmail we get on a daily basis is horrendous. We've stopped even looking at it and it just goes directly into the recycling bin.

After recently getting sucked into a half hour conversation with a woman selling water heaters I decided I needed to do something to try to stop the flow of unwanted visitors and junkmail. I found decalfarm on Etsy and ordered a custom design based on their awesome 'no soliciting' decal - I fell for the little jolly roger and am hoping he inspires fear in the postman.

Less than 2 weeks after ordering I got my package in the mail and didn't waste any time applying it to our mailbox.

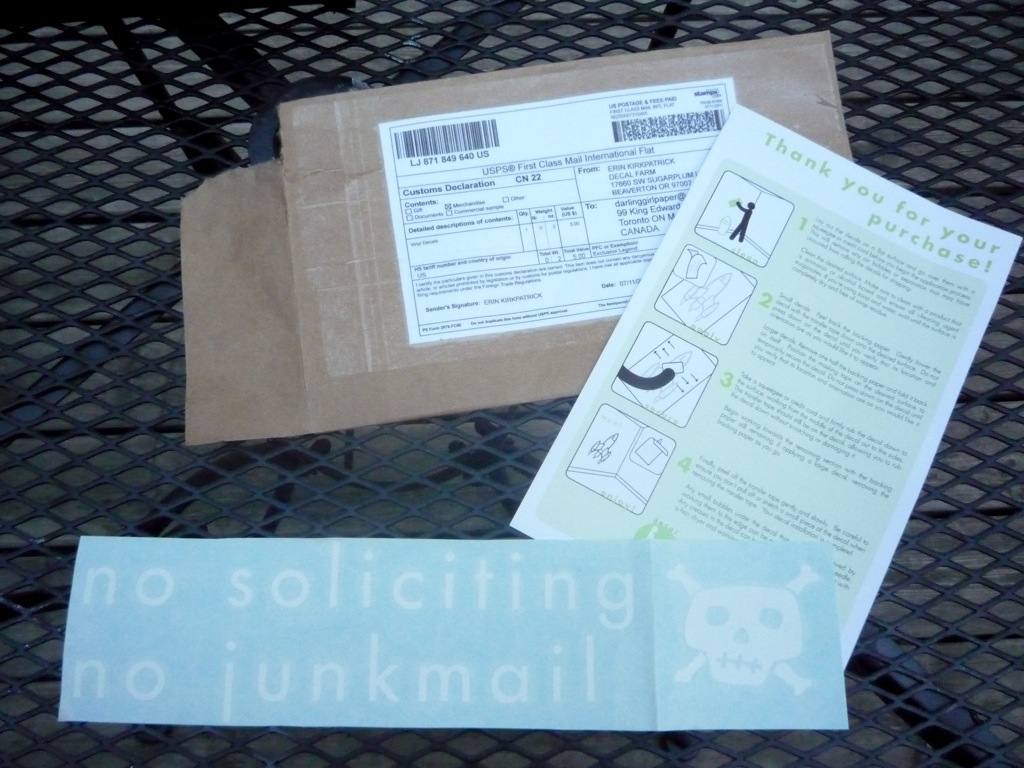
Applying decals is a super easy process and decalfarm sent really easy to follow instructions for a flawless application. I spent a bit of time playing around with placement because once you remove the backing you can't reposition it.


I went with the off centre placement for a bit of visual interest. After cleaning the surface, remove the backing and press down firmly. I used a credit card to smooth it out and remove any air bubbles.

 Then slowly (slowly!!) peel off the paper, leaving the decal behind.

With the mailbox back in it's place we'll have to see how effective the message actually is, but I love the look of it!

Oh yes, I forgot to show you our new door colour! Must be the summer because I've been in a very sunshiney mood lately (first the laundry room, now the front door). Boring white...

...to Daffodil Yellow!

Any tips to keep the junkmail and salesmen at bay?


Monday, July 18, 2011

Painted Floor Rug

Our porch progress has been coming along swimmingly and I thought today would be a good day to share what's been going on under our feet. Our long term plan for the porch is to enclose it and make it added year-round living space, so we've been trying to keep the cost of our current face lift low. We thought about tiling the floor - but it's not really recommended in our area due to the hot summers and cold winters. We thought about carpeting or a rug - but it's just gonna get dirty and drive me bananas (plus we couldn't find one I liked that was affordable). The floor is plywood so we decided we might as well just paint it for now and once we actually enclose the space we'll figure out a more permanent solution.

We had a bunch of exterior paint left over from the walls, but we bit the bullet and invested in actual porch floor paint - we don't want it chipping and bubbling over time. I taped out a simple white border with a grey centre. Nice and simple...and boring.

We can do better than this! I was inspired by a project on Making It Lovely and after debating the merits of a kooky floor I figured 'what the heck?' It's only paint afterall, and if it doesn't work out then I can just paint over it and start again. I did some quick sketches of some different patterns and chose to go with petals (just like Nicole).

I used some chalk as a guide to help figure out the flow of the petals and help me determine a good size for them before committing with paint.


This was a slow, patient process that really turned into a labour of love over the 6 hours it took me to get from this...

To this!

I did have a couple helpers. Jeff chalked in petals as I painted and Kuro sat on the windowsill meowing in her confusion as to why we were outside and she was in.

Now that the floor is finished do you know what that means? Time to accessorize! Be back later with some COLOUR!

Monday, July 11, 2011

DIY Project: Modern House Numbers

House numbers are a way to set your house apart from everyone elses and show a little personality at the same time. We wanted something bold, modern and a bit different when it came to the numbers that would identify our house. We've actually had the supplies for this DIY project since about a week after we moved in, but due to every other thing seeming more important we didn't get around to it until this past weekend and I am kicking myself that it took me 6 months to do it because I am beyond thrilled with how it turned out.

We started with a piece of black plexiglass that Jeff snagged from his previous job ($25). It was a bit too big so we used our chop saw to cut it to size.

We got these great mod-ish numbers from Lowe's for $8 each. Do you know how hard it is to find reasonably priced modern items? Hard! At one point we thought we'd have to order something online which would have set us back over $75. Luckily Lowe's had just what we were looking for.

We figured out the placement of the numbers and using the handy drill guide we made our holes for the posts.


Using the holes on the plexi as a guide, we marked on our brick column where we needed to drill and Jeff got to work.

Next we attached the screw posts that came with the numbers and popped them into place on the plexi.


We used construction adhesive to fill the drill holes and smeared a bunch on the back of the plexi for good measure...

That sucker is never coming off now!


I actually jumped up and down in the driveway and did a little happy dance when the numbers were finally on. They are exactly what I was hoping for - totally custom house numbers for around $40.

Thursday, July 7, 2011

{Jeff's Project} Rat Rod Mower

The old owner of our place left a bunch of shit behind, including a sleeper sofa that weighed a million pounds (which we demo'd) and a pile of metal that turned out to be an old, rusty reel mower. Being the ever purposeful guy that Jeff is he turned that rusty hunk of metal into a slick, grass cutting machine.

First he took it apart...

Then cleaned, degreased and hung up each piece to paint (sorta turned a little creepy at this point)...

Finished painting, high gloss red and flat black - classic hot rod colours. He was going to chrome the reel, but figured that that would blind him continually when he was cutting grass - which is bad.

Some of the nuts and bolts were too rusty to put back on so some new hardware was found and it was regreased and put back together again. He masked over the original label so that it would still be there. You can sorta see it on the white bar at the front.

After a trip to Home Hardware to have the blades sharpened ($40) she is as good as new and
cuts like a dream. So much better than spending $100 on a new one!


Monday, July 4, 2011

Grey is the New White

We loved the way the colours on our shed turned out, so when we decided it was time to give our house a facelift we stuck to the same colour palette (Behr's Elephant Skin and Painter's White to those interested).

This is what we had to work with - sickly green siding on top, stock white on the bottom, rickety stairs and peeling paint. We've already fixed the ugly insulbrick on the side with crisp white siding, but we still had a lot of work ahead of us.

We spent all long weekend working and this is where we're at...

Done:
- window casing painted white
- steps repaired (yay for not breaking an ankle!)
- removed old house numbers
- spraypainted mailbox and lights
- painted walls and columns

To Do:
- make new house numbers
- paint floor
- paint front door
- paint green siding white

The green siding really ruins the whole look for me so I prefer to use this view instead...

I love the way it's starting to take on a more modern feel (which we are big fans of) and I have big ideas for the rest of our To Do list to keep it heading in the modern direction, but first I need a nap and a cold beer. Here's a couple inspiration pictures to keep you interested.
{from Design for Mankind}
{from Not Cot}
{Rug from Urban Outfitters [no longer available], picture from Black. White. Yellow.}